Digital Makeup Portrait Tutorial for Procreate
Paint a digital makeup portrait in Procreate with free files and Twotap’s Digital Makeup Brush Set workflow.
Download the free files
Procreate-ready, yours to keep
Digital makeup is a practical Procreate skill for portrait polish: skin, lips, eyes, and soft edges without wrecking the base paint. This free tutorial includes files so you can follow along cleanly.
Work with the video in short passes. For brushes and a deeper beauty path, see the Digital Makeup Brush Set and Beauty Lab.
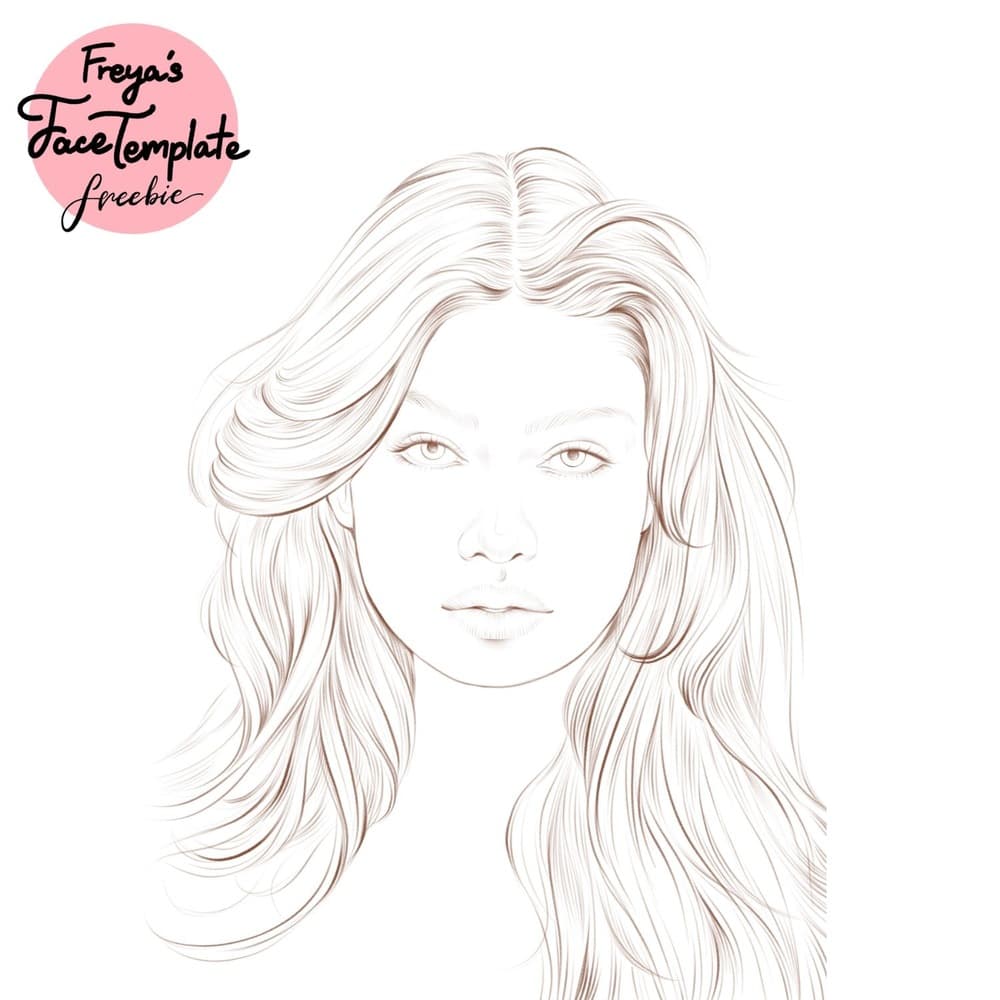
Once downloaded, go to your Downloads Folder on your Files App. Tap on the zip file and it will create an unzipped folder. From there, just tap on the .swatches file and it should import automatically to Procreate. Save the jpeg template to your photos app and import to Procreate. You’ll find the swatch palette in your Palette’s tab inside the Color Panel. Scroll down the list to find the freshly imported swatches.
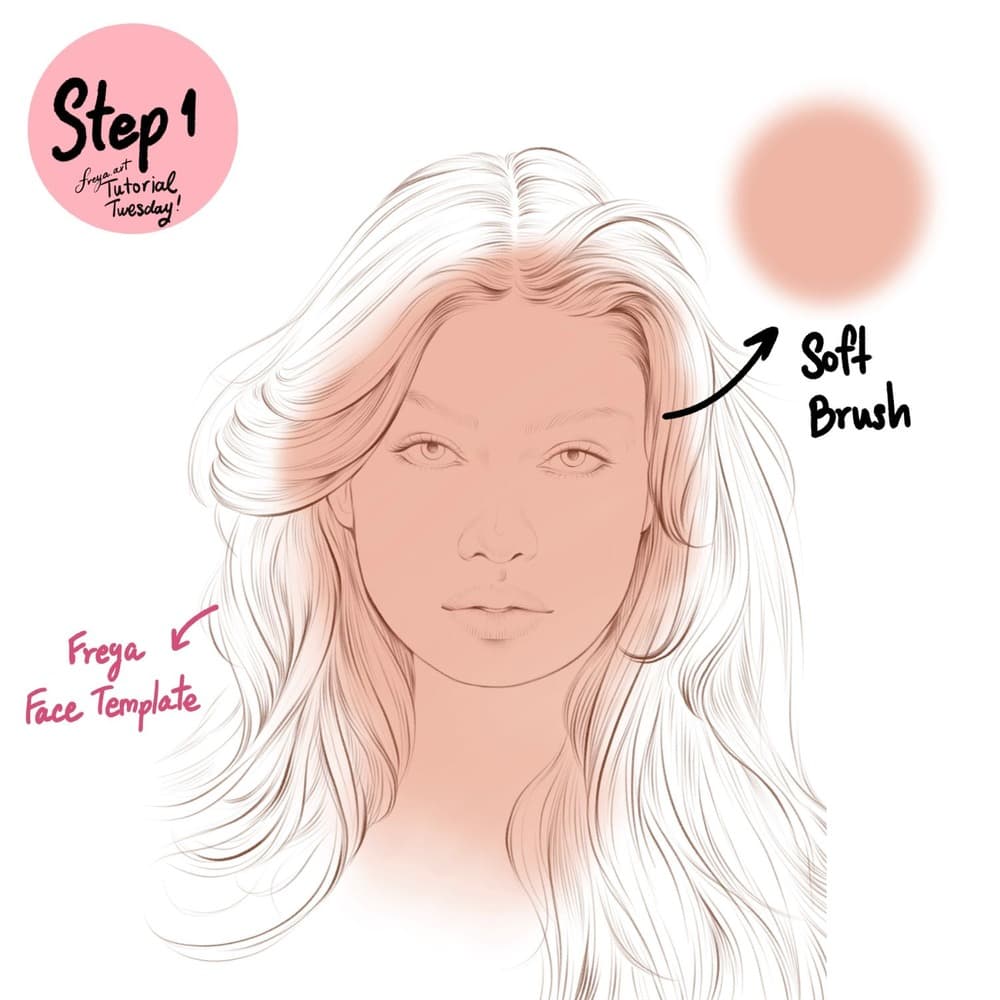
Step 1: Import the template to Procreate, then set this template layer to Multiply. Then add a new layer underneath. With the default Soft Brush from the Airbrushing brush group. Add the base color for the face. Rename this layer “Face Base”.
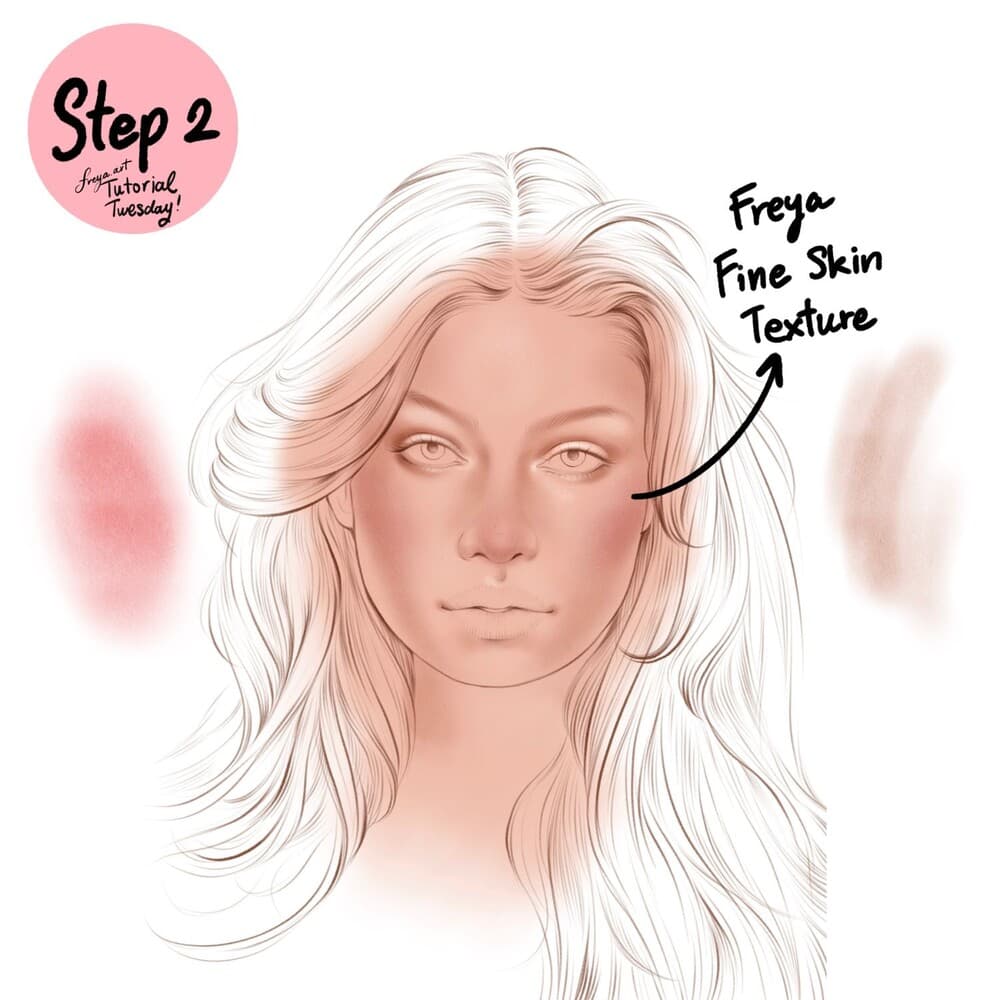
Step 2: Add a new layer on top of the Face base layer. Rename this layer as “Contour”. This time, we’re going to map out the contours of the face using the Twotap Fine Skin Texture.
A darker brown to contour around the corners of the eye, some between the eye and the nose bridge. Don’t forget the lids and under the eye. Define the aegyo sal as this is a natural part of our face and makes the portrait more realistic. Add some on top of the lip’s cupid’s bow and under the lower lip. Do not overline the lip, do this sparingly, just enough to add definition.
Add some contour on the sides of the forehead and near the jawline. You can add another layer to paint some pink blush on top of the cheek bones.
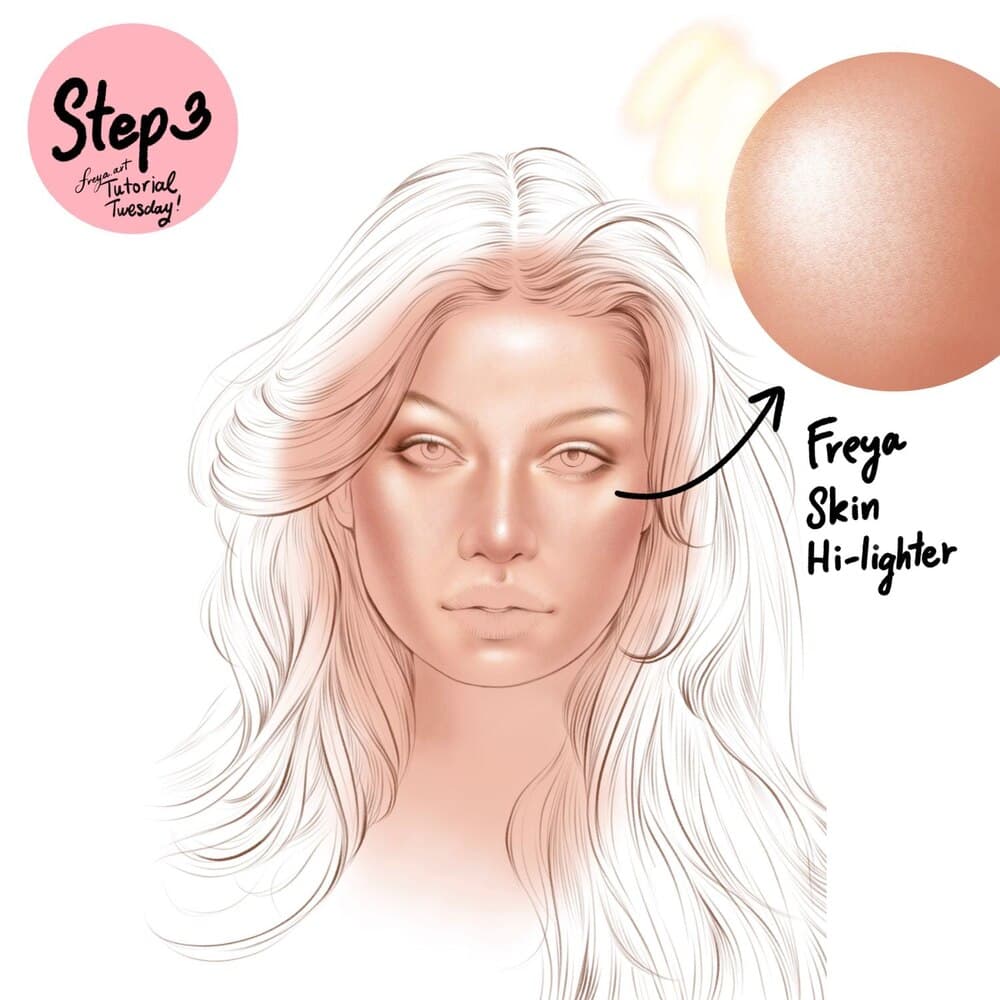
Step 3: Add another layer on top of the contour layer. Rename this as “highlight”. Using the Twotap Skin Hi-Lighter, start adding highlights to areas we want to pop. This will give your portrait more dimension.
We usually add some highlight on the forehead, in the middle of the nose and nose bridge, under the arch of the eyebrows, the folds of the eyelids, and on the inner corners of the eyes. Don’t forget to add some highlights on the upper cupid’s bow and just a bit on the chin as well.
Now, highlighting the cheeks and cheekbone will depend on your preference as this will change the face shape. So we suggest adding another layer so you can experiment with this part.
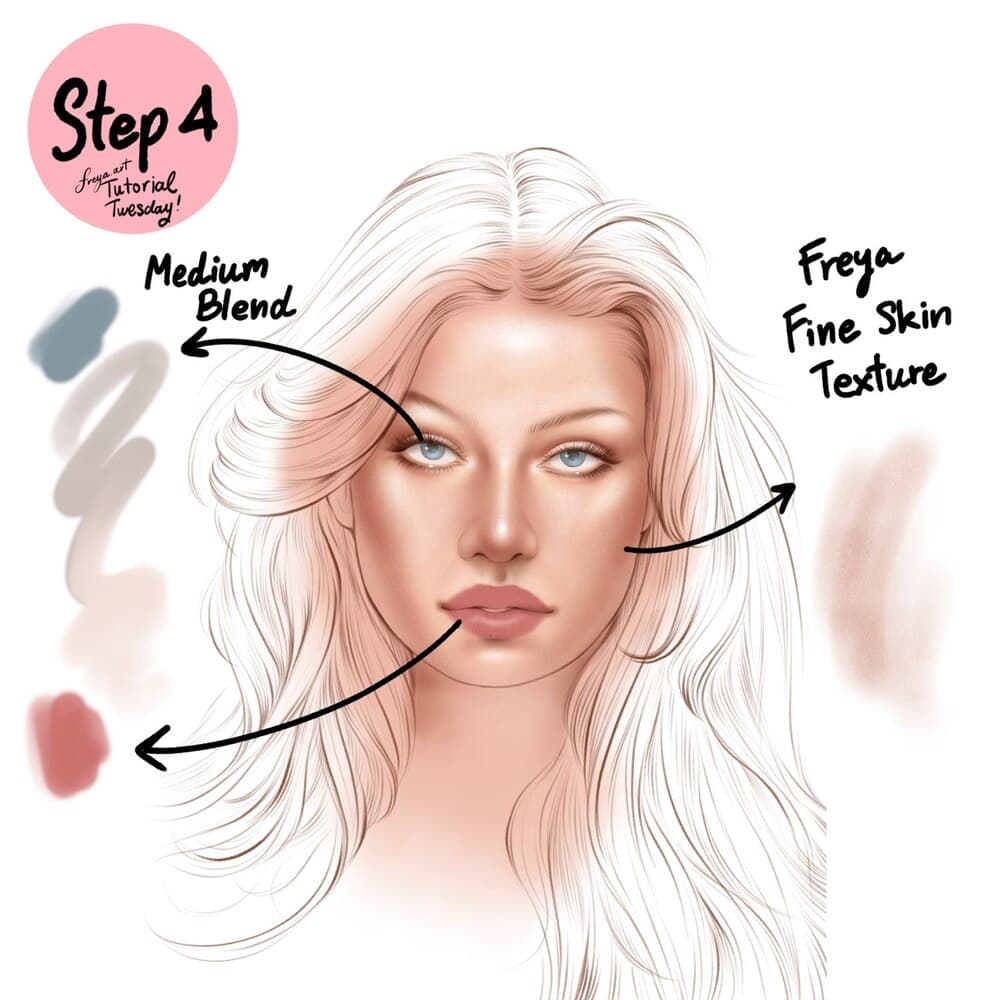
Step 4: For the final part, add another layer for eyes. Use the default Medium Blend brush from the Air brushing group to add the colors of the iris.
We will also add definition on the whites of the eyes. Do note that they shouldn’t be very white in portraits, so use a bit of a light pink color for the “whites” and then swipe a light gray color just under the lids for the lash shadow.
You can use the same brush for the lips, and vary the color so some areas look plumper. At this point, we’re done with the make up, but you can still add more contour using the Twotap Fine Skin Texture if you wish to make the make up more dramatic.
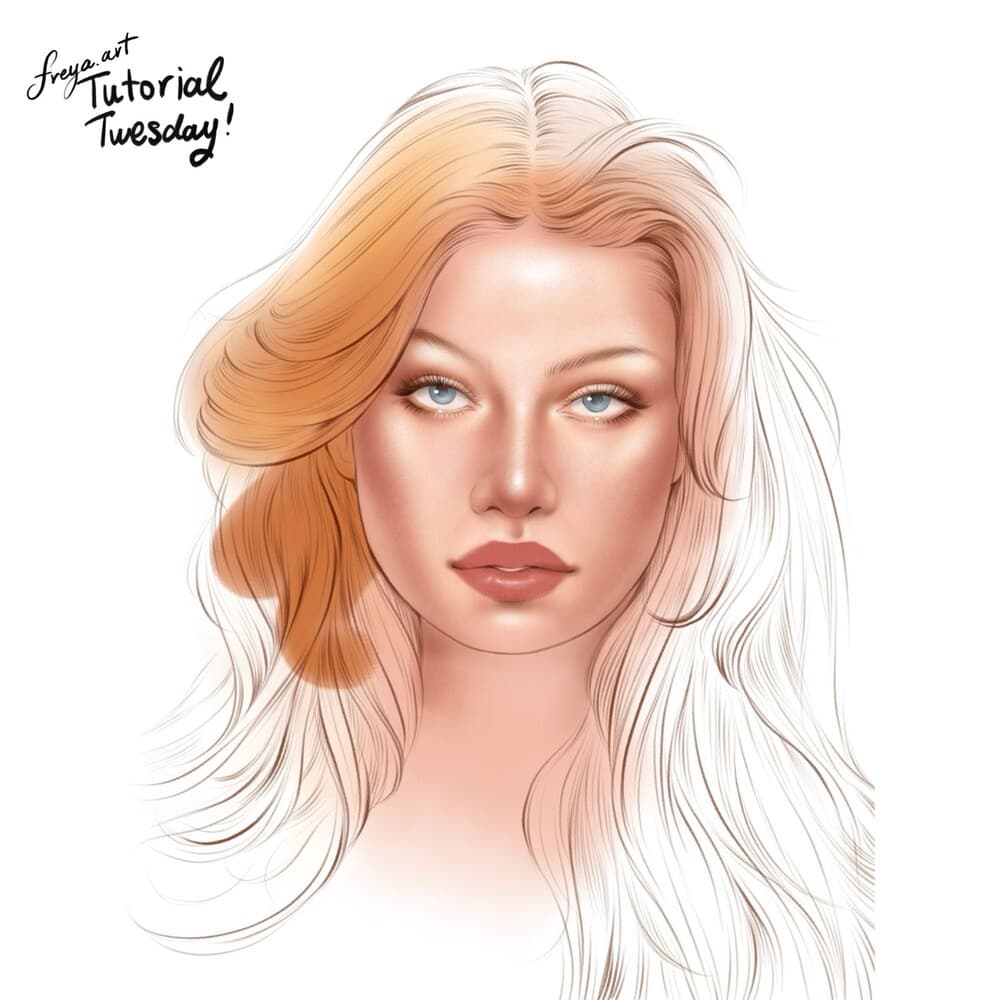
Your makeup pass is complete. Try a second look with a quieter palette, then explore more portrait training in Twotap’s courses.


