How to Use Symmetry in Procreate
Turn on Drawing Guide symmetry for mandalas and patterns, then know when to switch it off.

Symmetry tools in Procreate are handy for mandalas, faces, and patterned ornaments. This guide shows how to enable Drawing Guide symmetry and when to break it on purpose.
Use symmetry to build structure, then disable it for natural finishing strokes.
Where can I find the Symmetry Tool?
To start off, you will find the Symmetry Tool in the Actions > Drawing Guides menu. This will only be available when the Drawing Guide option is toggled on (toggled off by default) and the “Edit Drawing Guide” option is not grayed out.
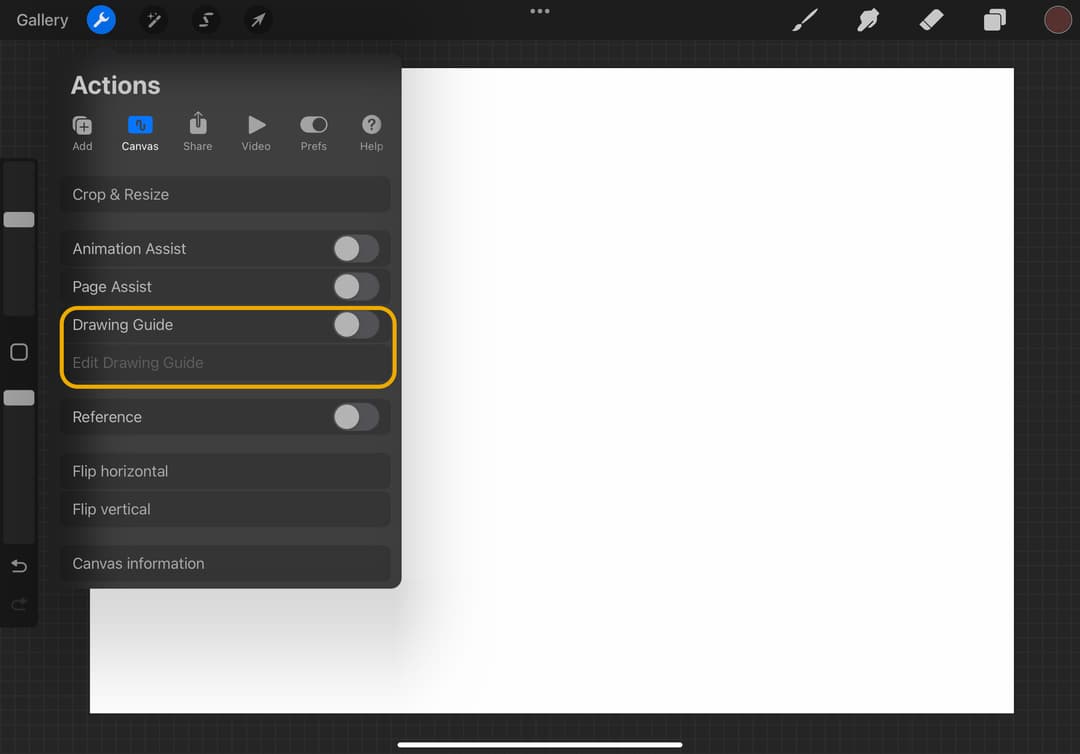
Tapping on this will show you 4 powerful digital art tools and in the rightmost option, the tool we will be focusing on.
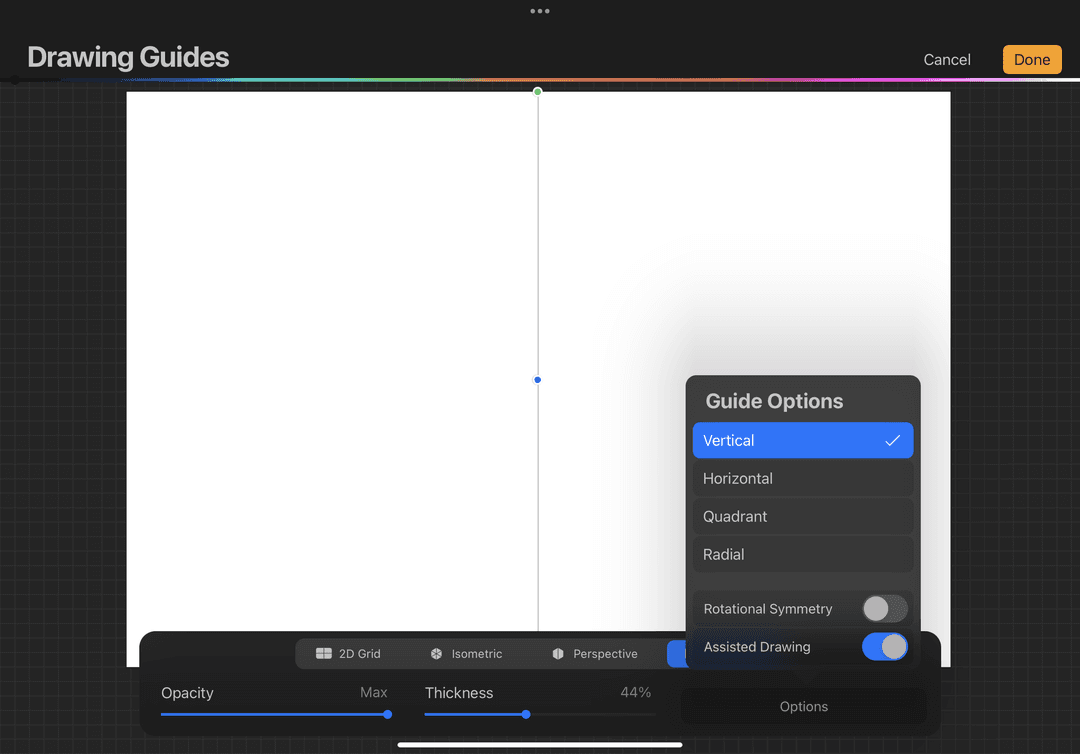
In this panel, you can choose which guide you’d like to use, adjust the opacity and thickness of your symmetry line, and even change the color to your liking!
Different Symmetry Guides
The Symmetry Tool consists of four guide options, Vertical, Horizontal, Quadrant, Radial. In this guide, we will go through each one and how you can fully use them in the best way possible. We will also explore the “Rotational Symmetry” option and how it changes the symmetry game!
Vertical Symmetry
As the name suggests, this option will create vertical symmetry. Basically, whatever mark you create on the left side of your canvas will be mirrored exactly on the right side, and vice versa. If you’re a concept artist, this tool will be superb in generating tons of ideas quickly and efficiently as it cuts down the brainstorming time literally in half!
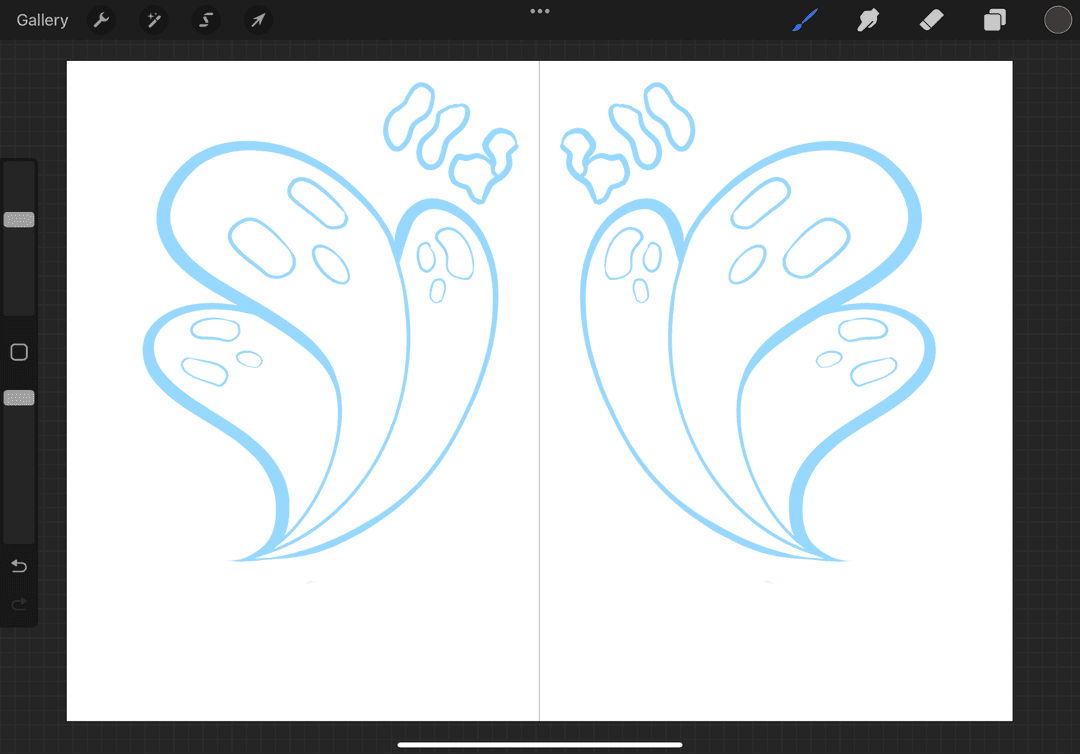
Horizontal Symmetry
Like the Vertical Symmetry, this option also simply mirrors whatever mark you make on the upper portion of your canvas directly to the bottom portion of your canvas.
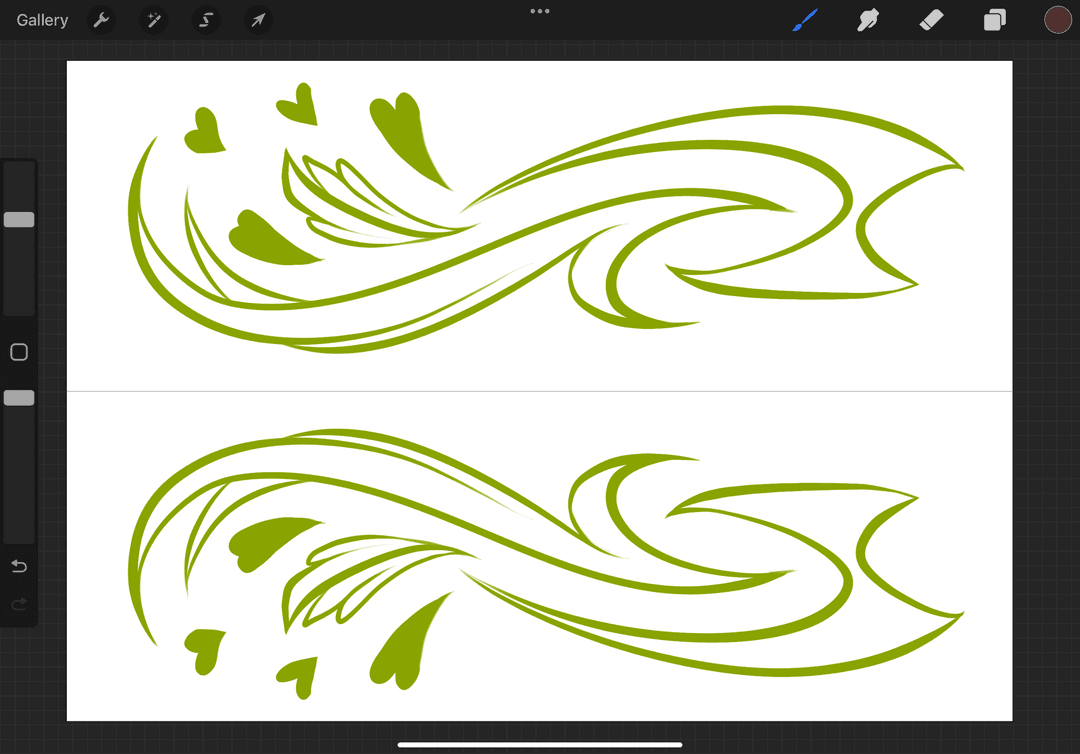
Quadrant Symmetry
This symmetry divides your canvas into four equal sections. To put it simply, it’s a combination of the Vertical and Horizontal Guides. Your strokes will get mirrored left to right and top to bottom!
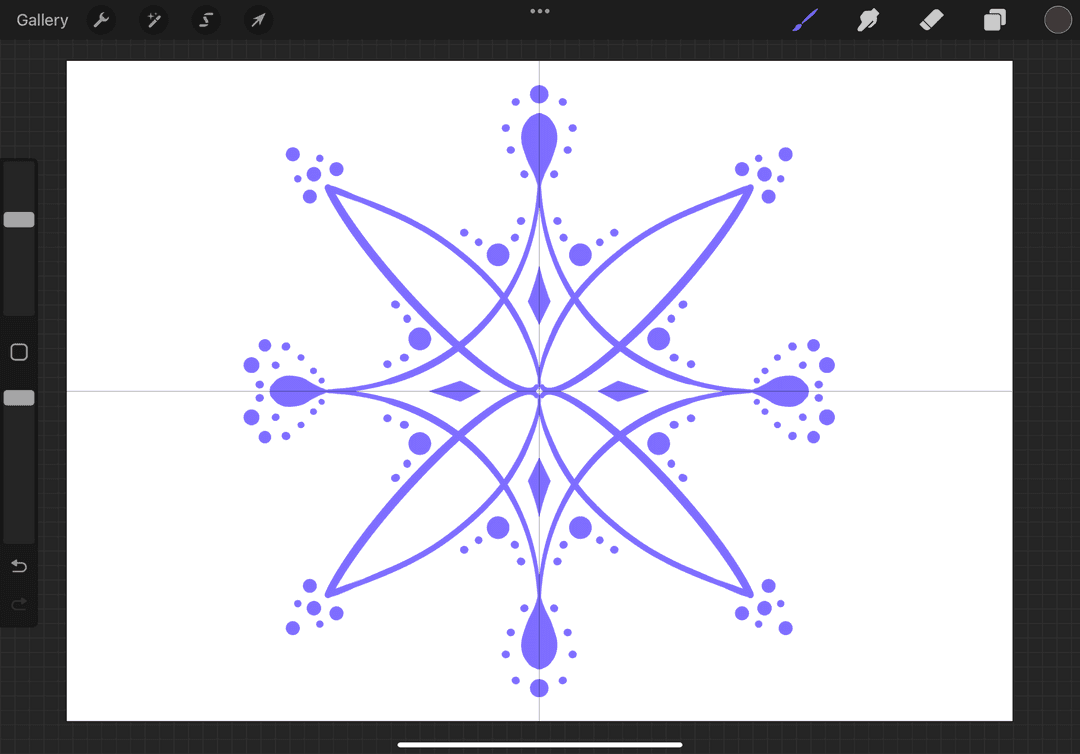
Radial Symmetry
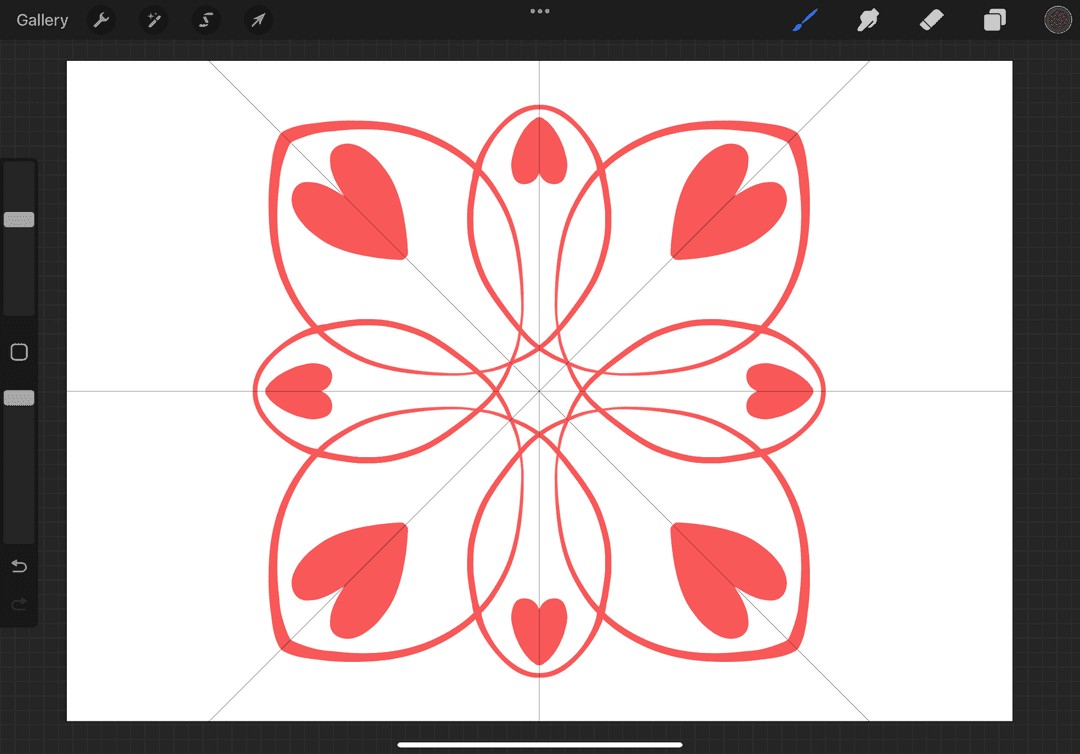
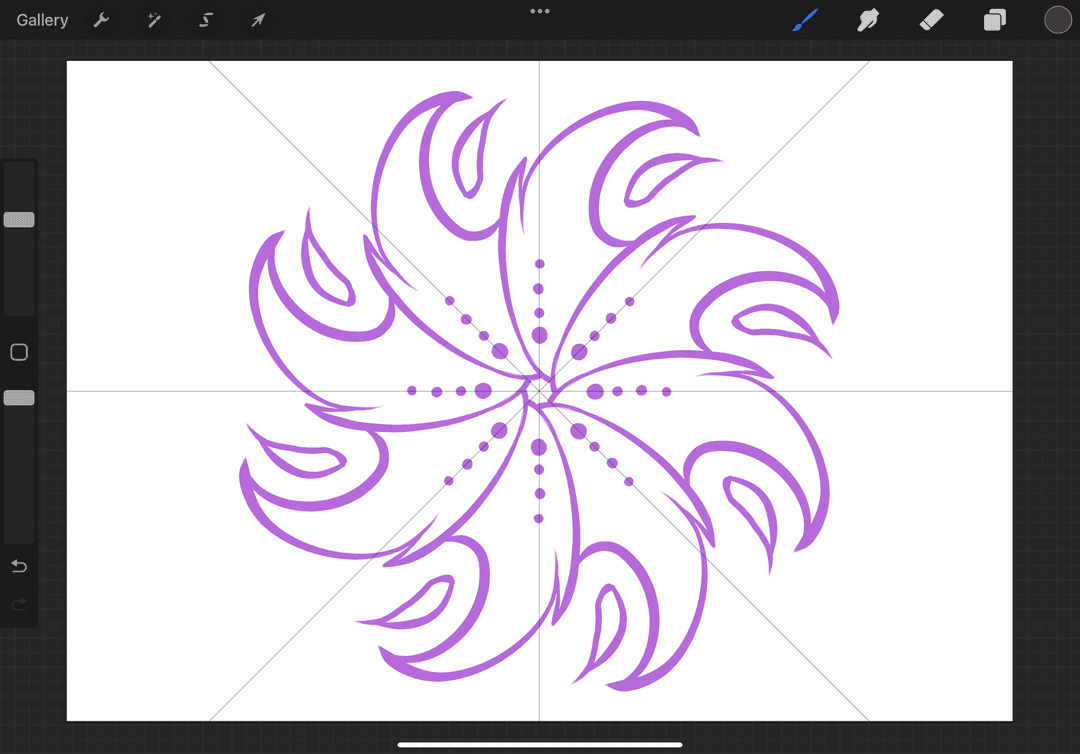
The last of the bunch, Radial symmetry is a more advanced version of the Quadrant Symmetry in which it divides your canvas into 8 equal parts, instead of 4. The marks will be mirrored in each section! This guide is useful for making intricate patterns such as mandalas!
Is that all?
Not quite. Once the basics feel familiar, here is how you can push the guides into more advanced designs.
First, on your symmetry line you’ll find two different colored dots- one green and one blue. The green dot can be used to rotate the symmetry lines to any angle you’d like and the blue dot is used to move the line to wherever location in your canvas.
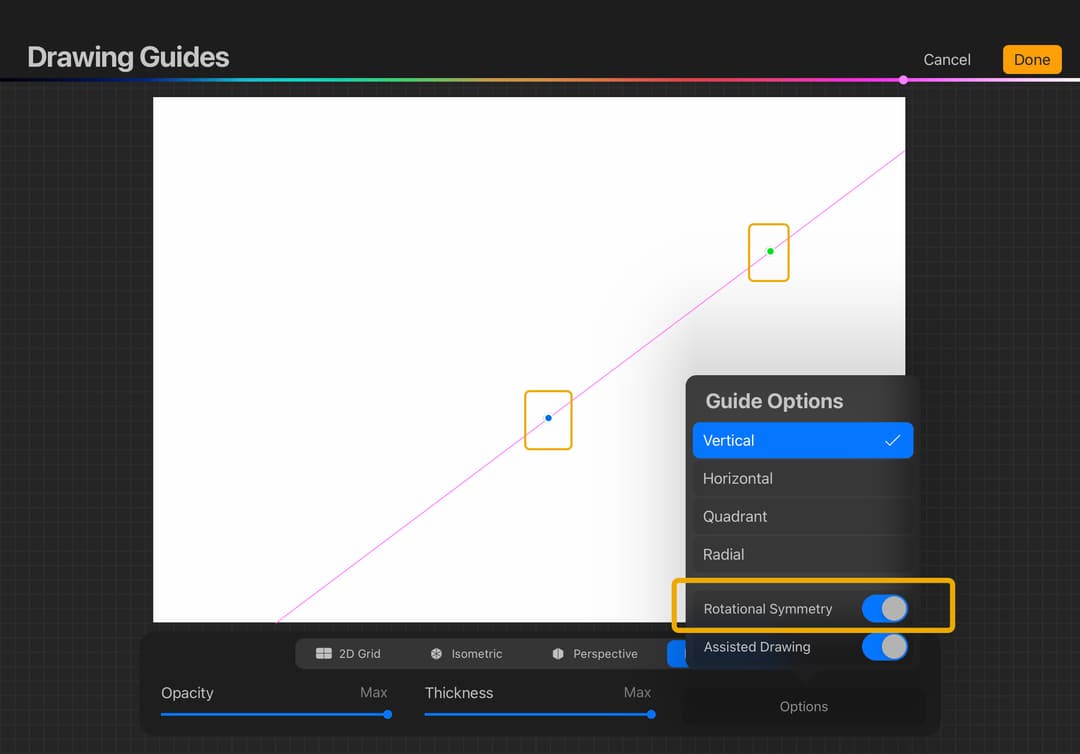
Now you can create symmetries anywhere and at any angle your piece needs!
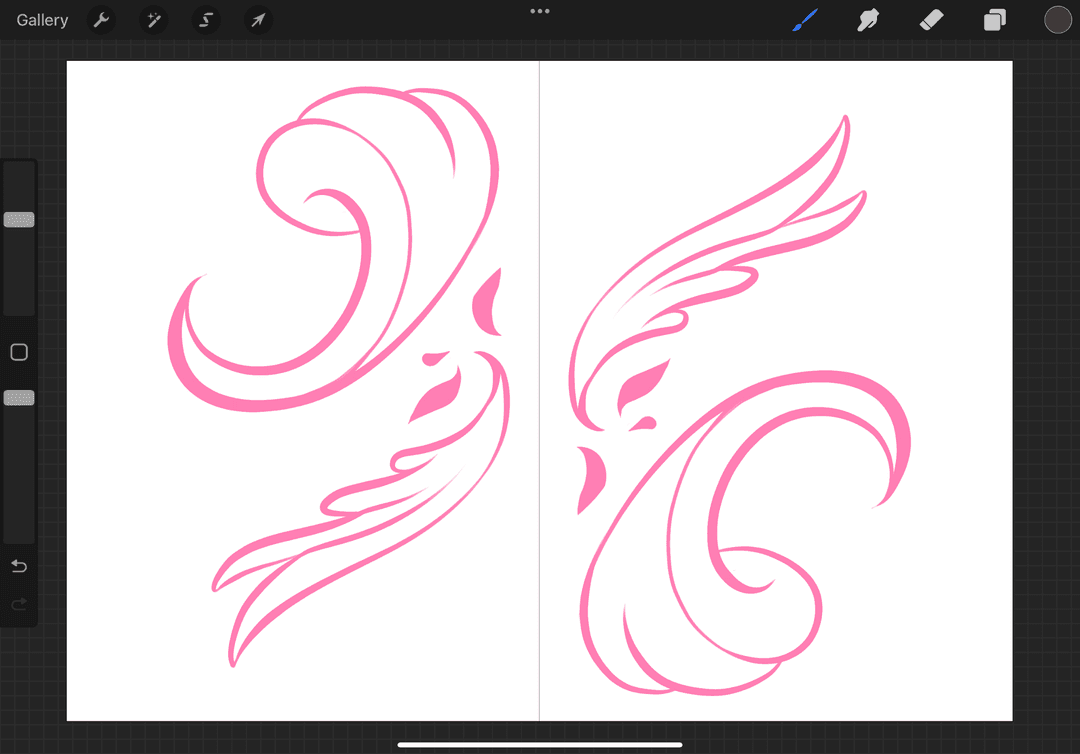
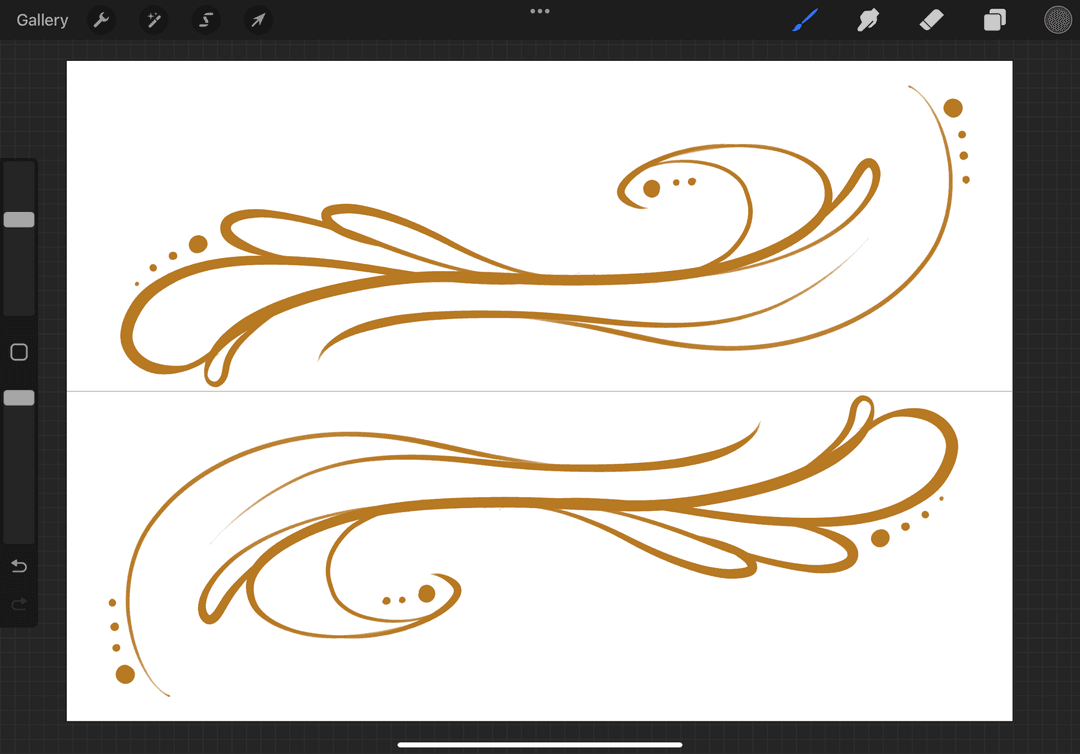
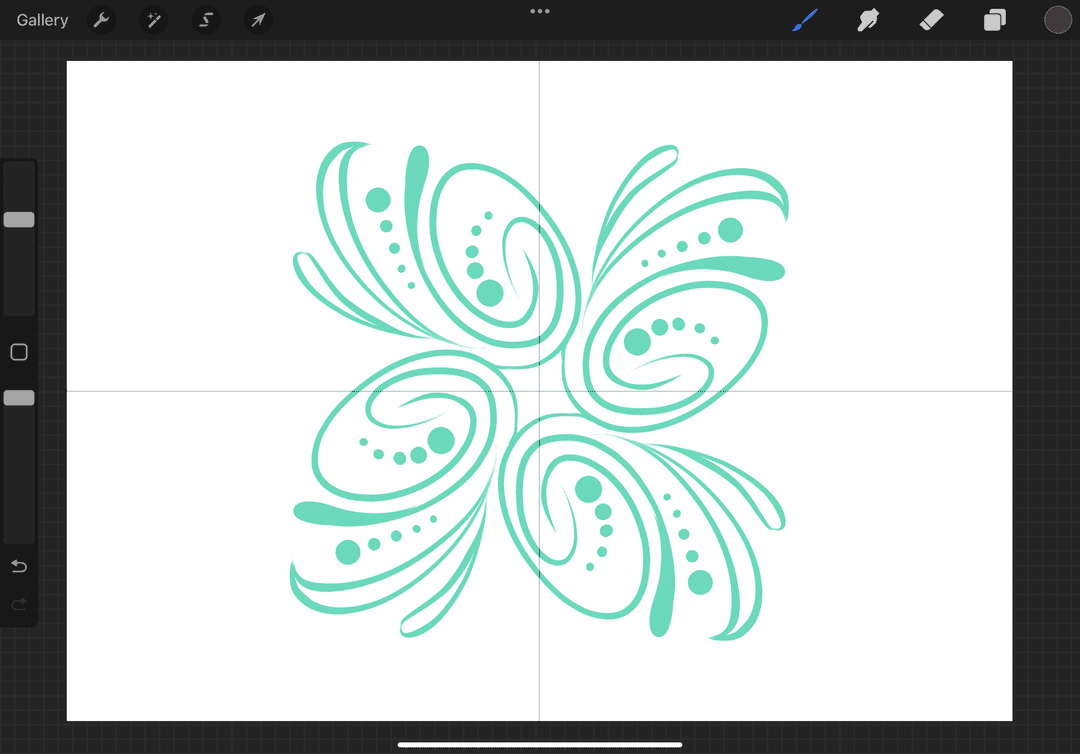
Another tip (or trick!) is the Rotational Symmetry toggle. This option can be applied to all four symmetry guides and it will help spruce up where the symmetry marks will appear. Think of it as your marks being mirrored accordingly and then flipped vertically.
It might sound and look confusing but rest assured, this will bring a certain hint of fun with experimentation and it’s best to play around and see what amazing new things you’ll come up with! Here are only a few of what you can do with this toggled on.
Finishing off
When you’re done with the Symmetry Tool, you can disable it by opening the layer panel, tapping on your layer and disabling ‘Drawing Assist’.
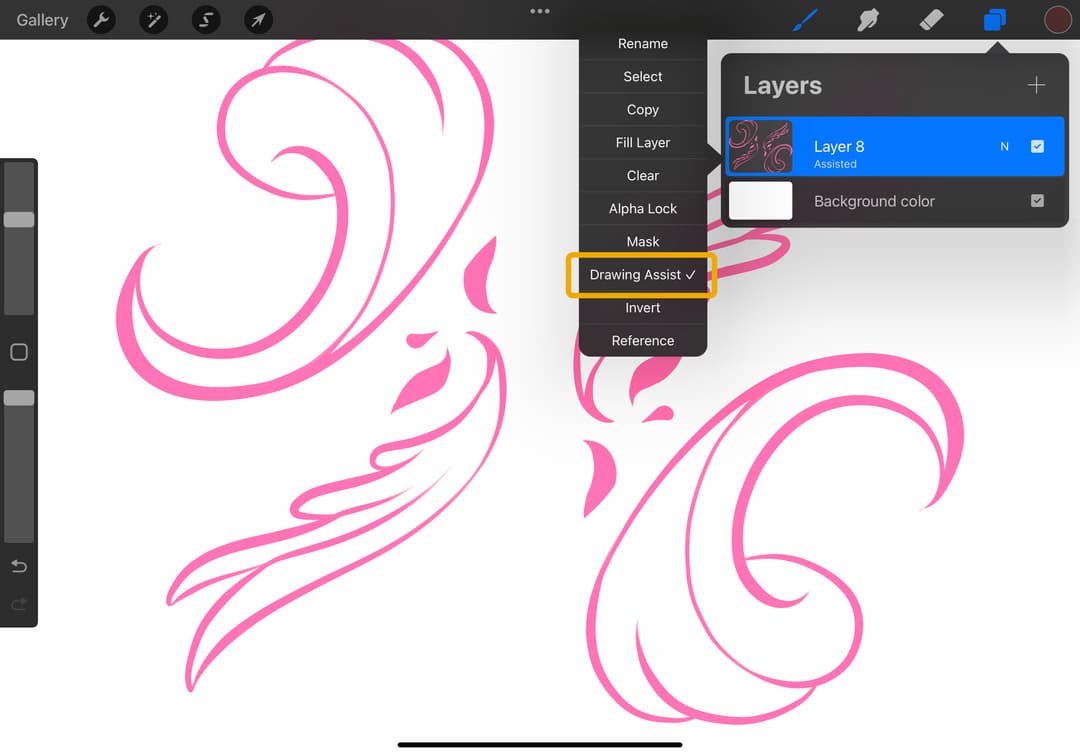
Note that toggling off the ‘Drawing Guide’ will only hide the symmetry line and not disable the symmetry itself!
To finish off this guide, it’s important to use each and every tool available to make stronger work and grow as an artiston of artist you can be. Now that you’ve learned what Symmetry Tools are and how you can use them, go ahead and let your imagination explore! You have exciting things in store for ya!
Try a 10-minute symmetry warm-up, then a second pass with the guide off. For project-based practice, browse Twotap courses.
Try a short symmetry warm-up, then explore more creative projects in Twotap courses.


