Free Procreate Calligraphy Drills
Warm up digital calligraphy in Procreate with free Twotap exercise files, then continue with the Artistic Lettering Brush Set.

Digital calligraphy feels better when you practice small drills before full words. This Twotap warm-up gives you a clear Procreate exercise path plus free files so you can focus on pressure and rhythm.
Work through the steps slowly. When you want brushes tuned for lettering, check Twotap’s Artistic Lettering Brush Set.
Procreate calligraphy warm-up
Practice is not glamorous, and it is still the fastest way to improve lettering. Ten focused minutes on the iPad beats another hour of watching demos. Put on music, open a throwaway canvas, and treat this like a gym set for your hand.
If you want the technical vocabulary first, read our notes on the anatomy of Procreate lettering guides. Then come back and put the stylus down. Knowing terms without drills is like reading fitness tips without lifting anything.
The same goes for common mistakes. Our do’s and don’ts of Procreate lettering is worth a skim before you go rogue and create a tangled mess you have to unlearn later. Aim for progress, not perfection. Uneven letters are normal early on.
Practice makes progress
Before the exercise, download three free brushes from our Artistic Lettering Sampler. They are the same family we use in lettering demos, scaled down so you can feel the strokes without buying a full set first.
Step 1: Create a new canvas in Procreate and set up blobs, lines, or shapes. Any colors work.
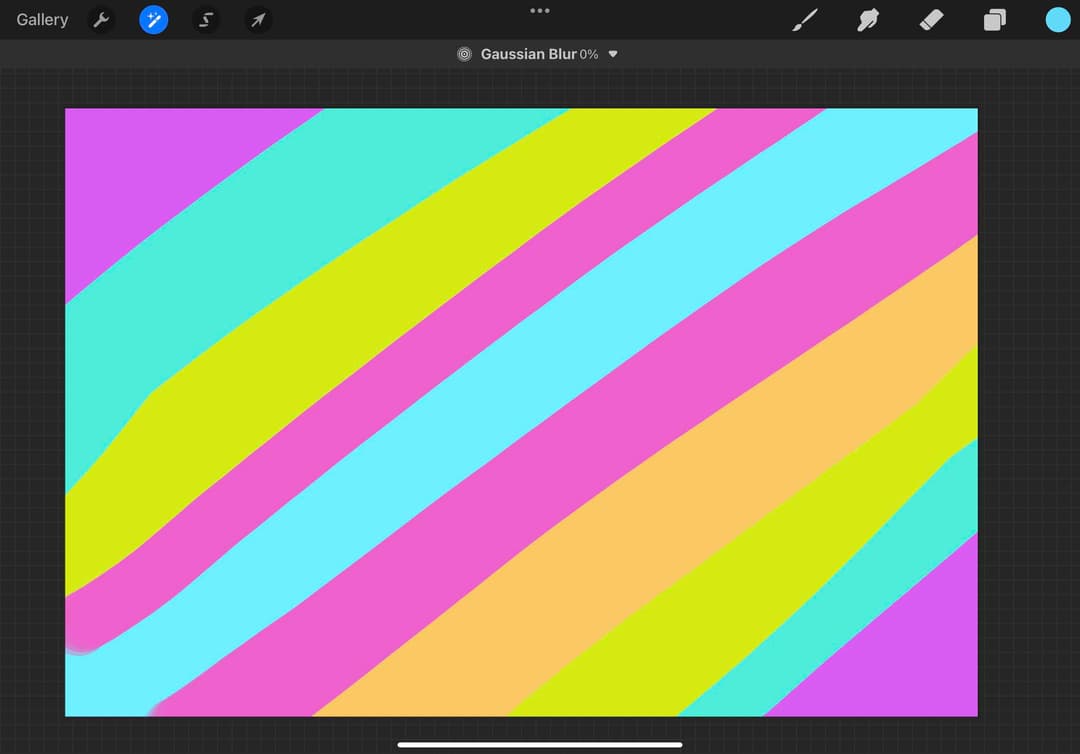
Step 2: In the Adjustments panel, use Gaussian Blur.
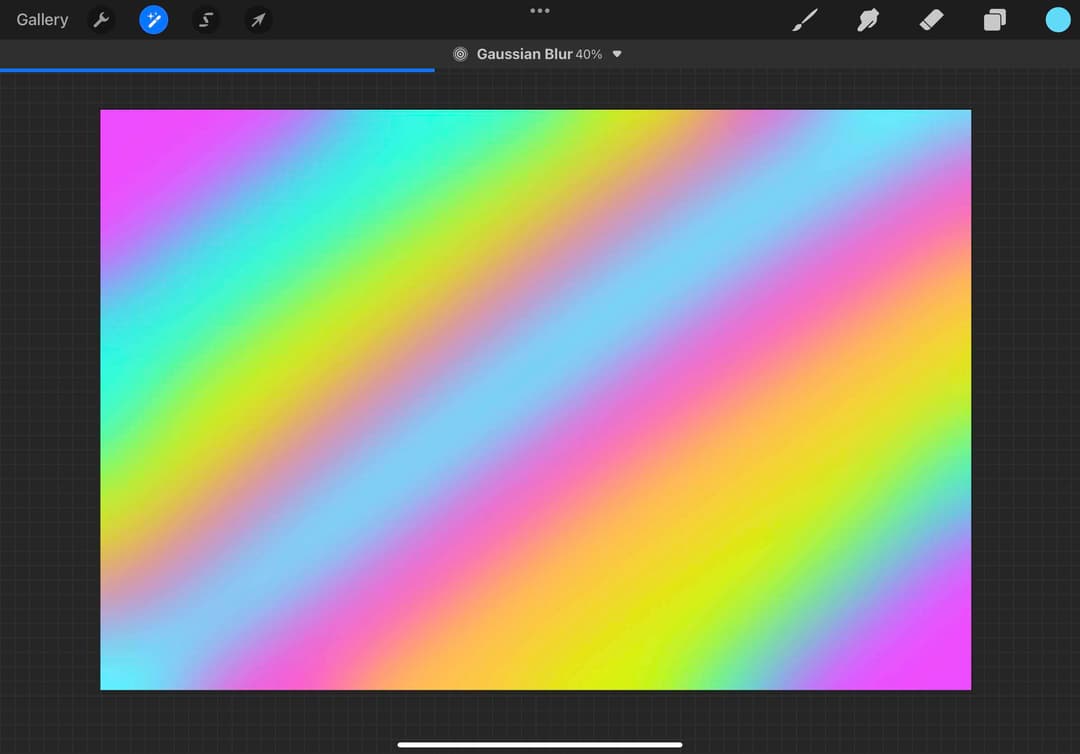
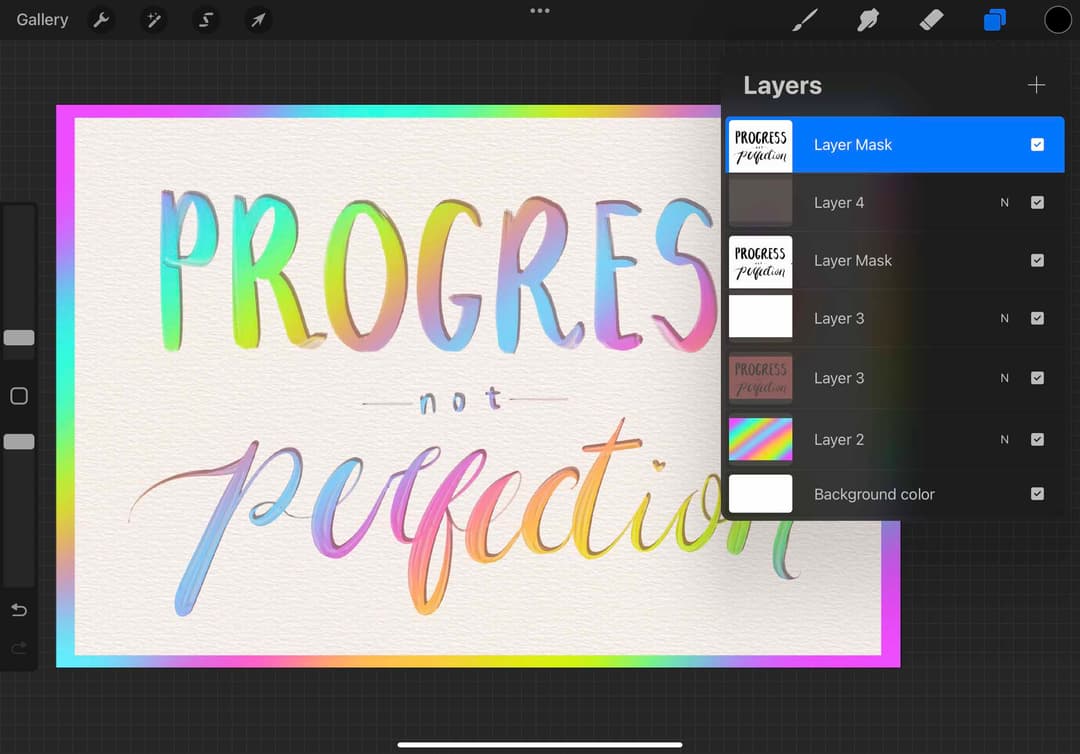
Step 3: Make a new layer on top and fill it with a light color. Tap the layer and choose Mask. Pick a calligraphy brush. For this exercise we use Twotap Marker Lettering 5 and Twotap Oil Lettering 10. On the mask layer, paint the lettering in black.
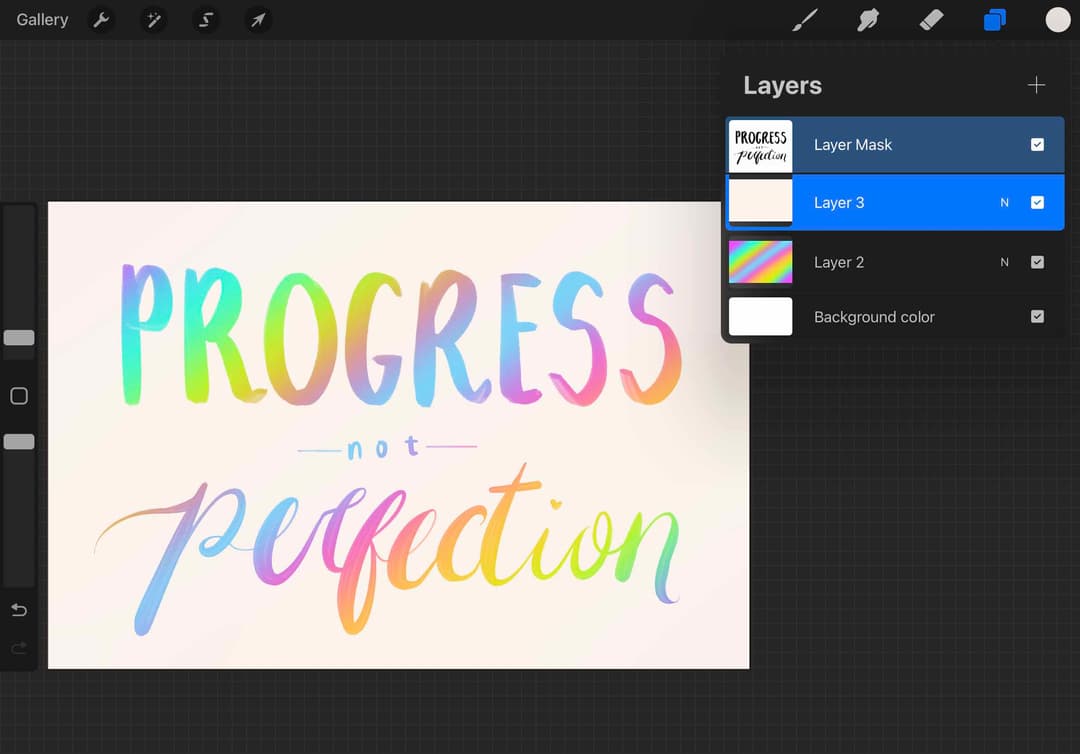
Step 4: Make another new layer and fill it with a paper texture.
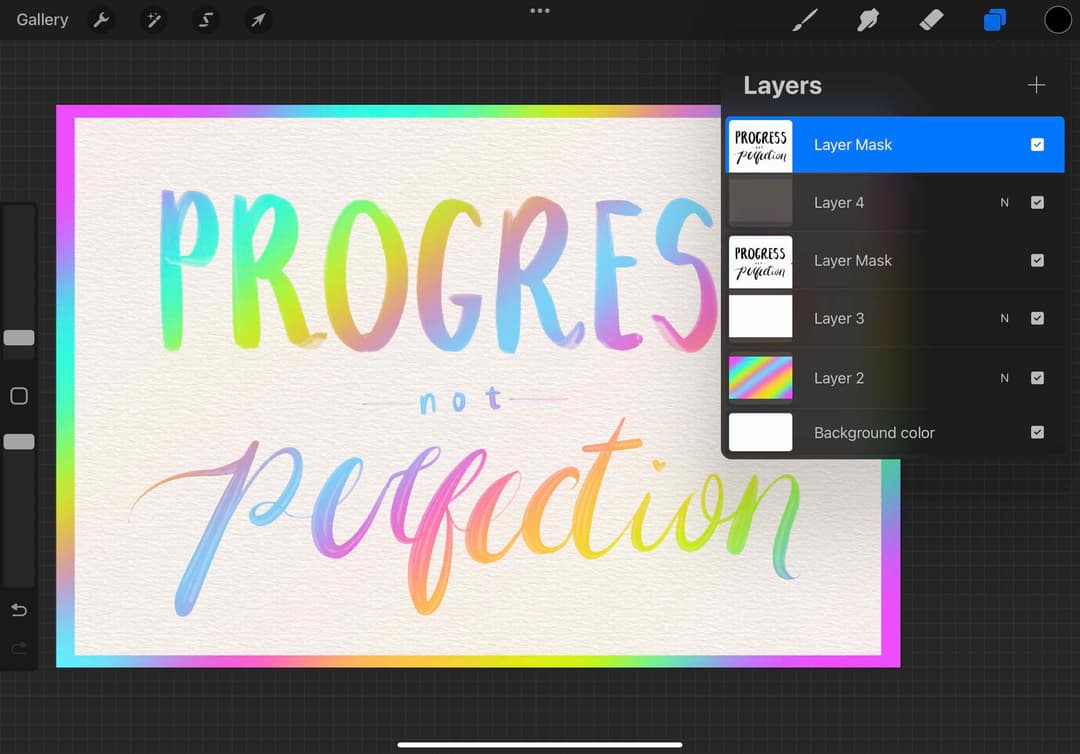
Step 5: Duplicate the masked lettering layer, merge the duplicate to a single layer, move it below the original, darken it slightly, and nudge it diagonally to create a simple shadow.
Step 6: Add simple highlights and a small motif if you want. Birds work well here, but any theme is fine.
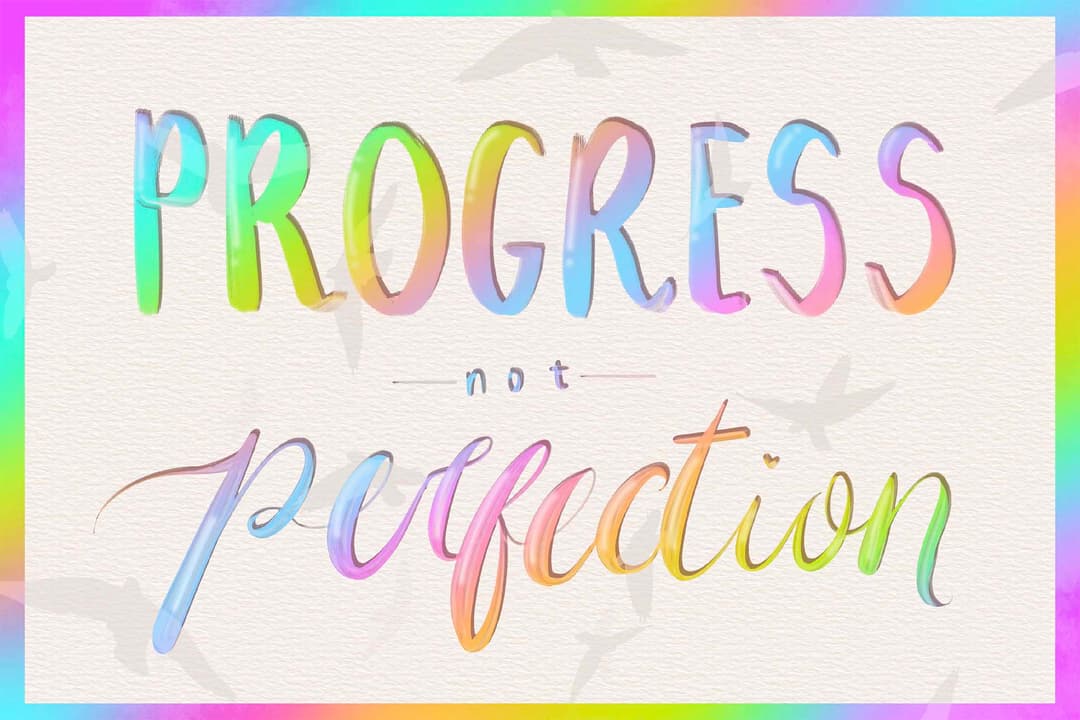
When the drill feels comfortable, move into the full Artistic Lettering Brush Set. It includes a large brush library plus lettering templates and texture brushes similar to the ones in this exercise.
Keep these drills in a dedicated practice canvas and revisit them weekly. For longer lettering projects, explore more free lessons on the Twotap blog.
When drills feel easy, move into the Artistic Lettering Brush Set and lettering-friendly courses in the catalog.


