Alpha Lock in Procreate: Fast Recolors
Use Alpha Lock to recolor and shade inside existing pixels, and know when a clipping mask is the better tool.

Alpha Lock confines your strokes to pixels that already exist on a layer. This walkthrough shows practical Alpha Lock uses in Procreate and how it differs from clipping masks.
Both tools matter. The trick is picking the one that matches the edit you need.
What is Alpha Lock
Do you remember the first time you ever used a crayon? We usually color something that only has an outline. Then, we were told to only ‘color inside the lines’.
You can think of alpha lock that way, but in this context it’s coloring inside a shape.
Alpha lock allows you to lock the transparency of your layer, so you’ll only be able to paint on the parts of the layer that already has paint on them. This means no matter how much color you add on the transparent areas, you won’t be able to modify them.
Clipping Mask vs Alpha Lock
Like the clipping mask, it’s a good way to add details or texture to your work. The difference is, you have more freedom when using a clipping mask. Alpha lock on the other hand is a little more permanent.
With clipping mask, you’re putting a new canvas with paint on top of your previous painting. You can add more canvas, rearrange the canvases, edit the details and color in the canvases, and you’ll still be able to remove them all without damaging your main painting.
On the other hand, you can think of alpha lock as adding paint on your main canvas that’s laying on the floor, but your floor is safe from the paint no matter how much you try to make a mess.
Your floor will be clean but all the paint you put on the canvas will be permanent and the details cannot be rearranged. Although the good thing is we’re given the option to undo in Procreate.
How to Use Alpha Lock Procreate
Now that we know what alpha lock is used for, let’s proceed to how we can use it. It’s simpler than you think!
First, open a new project in Procreate and draw any shape you like using Procreate’s Round Brush. For this tutorial, we’ll work with a heart.
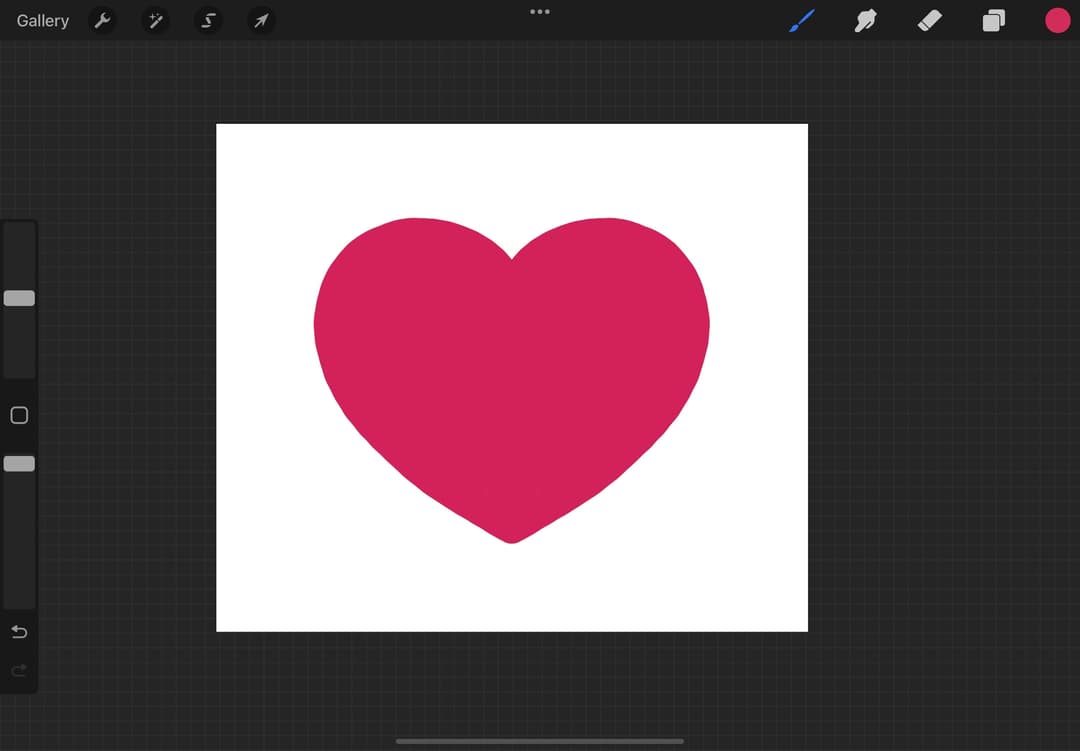
Like our exercise for the clipping mask, we’ll add shadows and highlights to this heart.
To use alpha lock, open the layers menu.
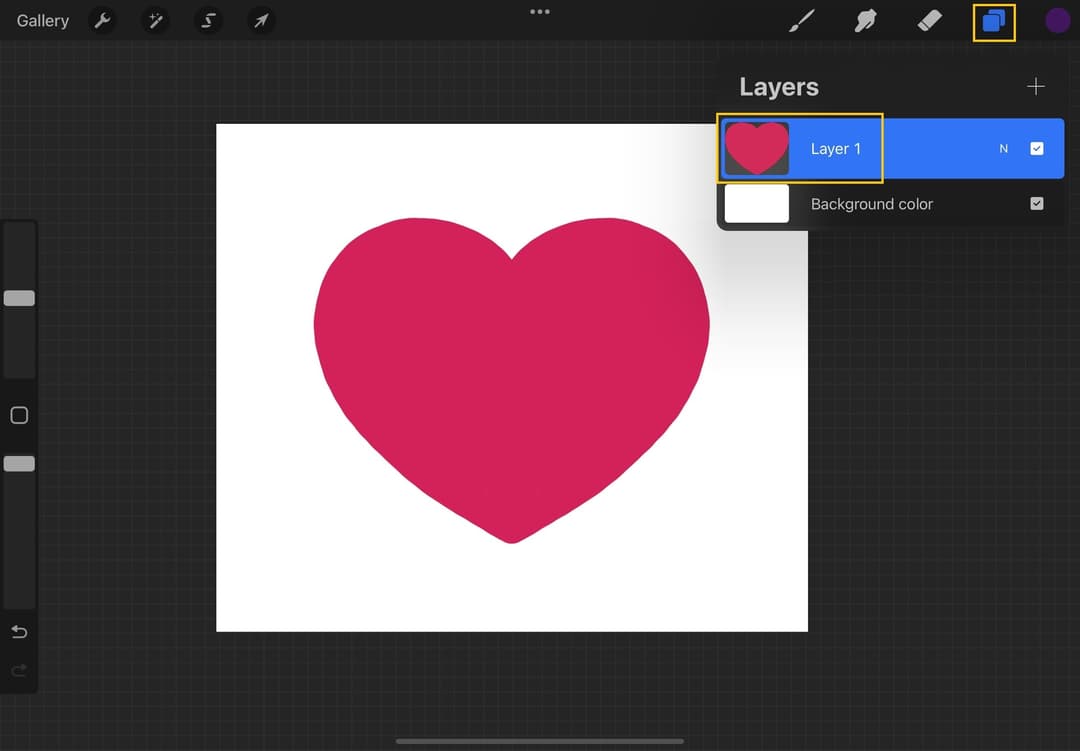
Then, tap on ‘Layer 1’ and choose ‘Alpha Lock’
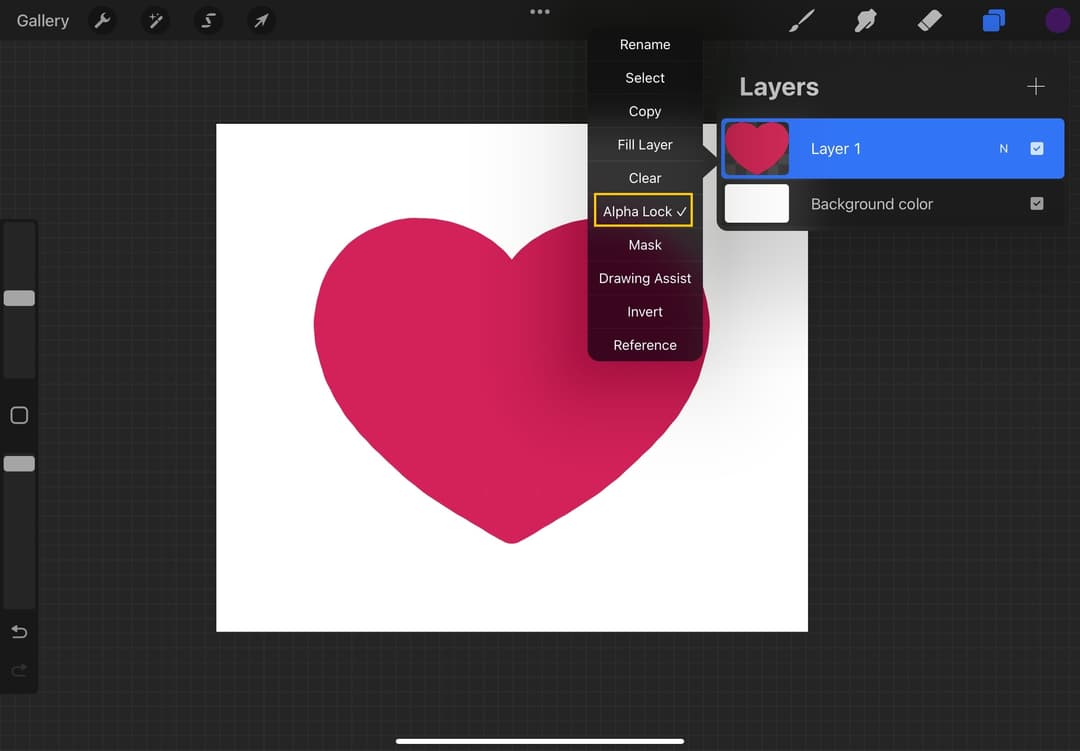
You’ll notice that a check will appear beside ‘Alpha Lock’ and your layer thumbnail would have a checkered background.
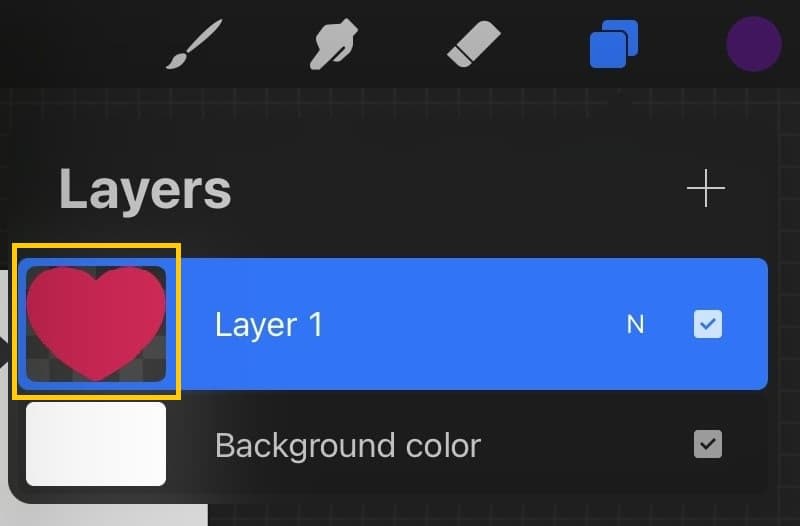
Now, choose a color darker than your shape. we’ll pick a dark violet.
Then, start adding the shadows on one corner of your shape. we’re adding some violet shadows using Twotap’s Gouache Thin 4 from the Gouache brushes.
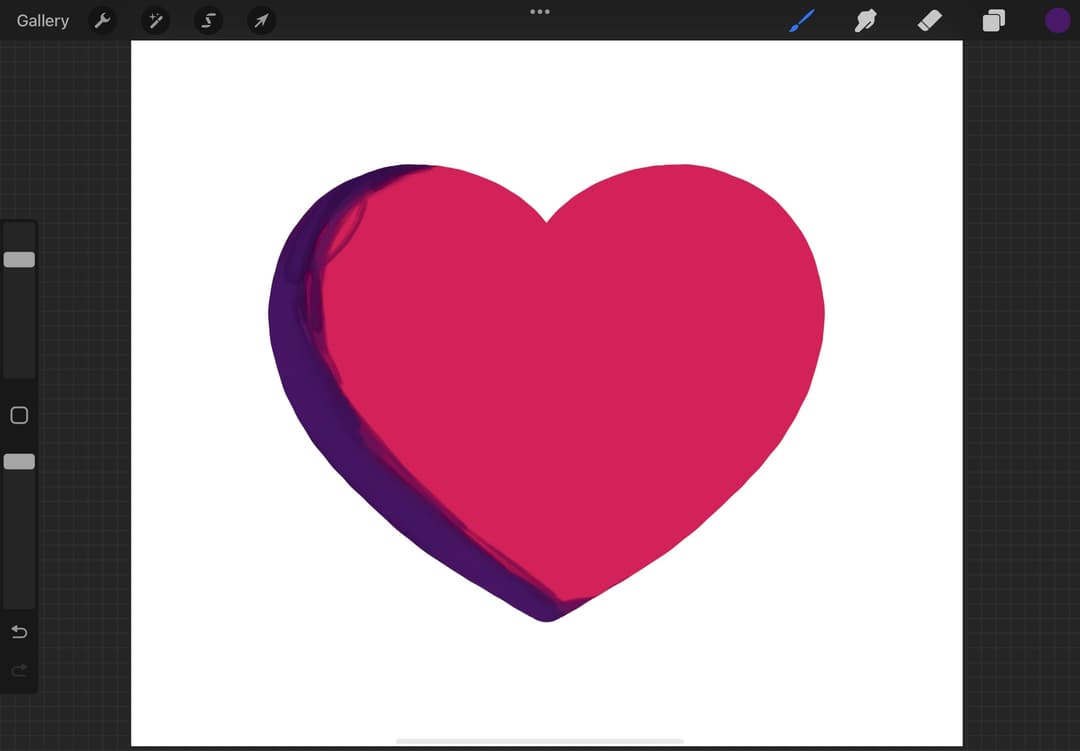
Once we’ve added the shadows, we’ll use Twotap’s Gouache Blender 6 and the smudge tool to soften the gradient.
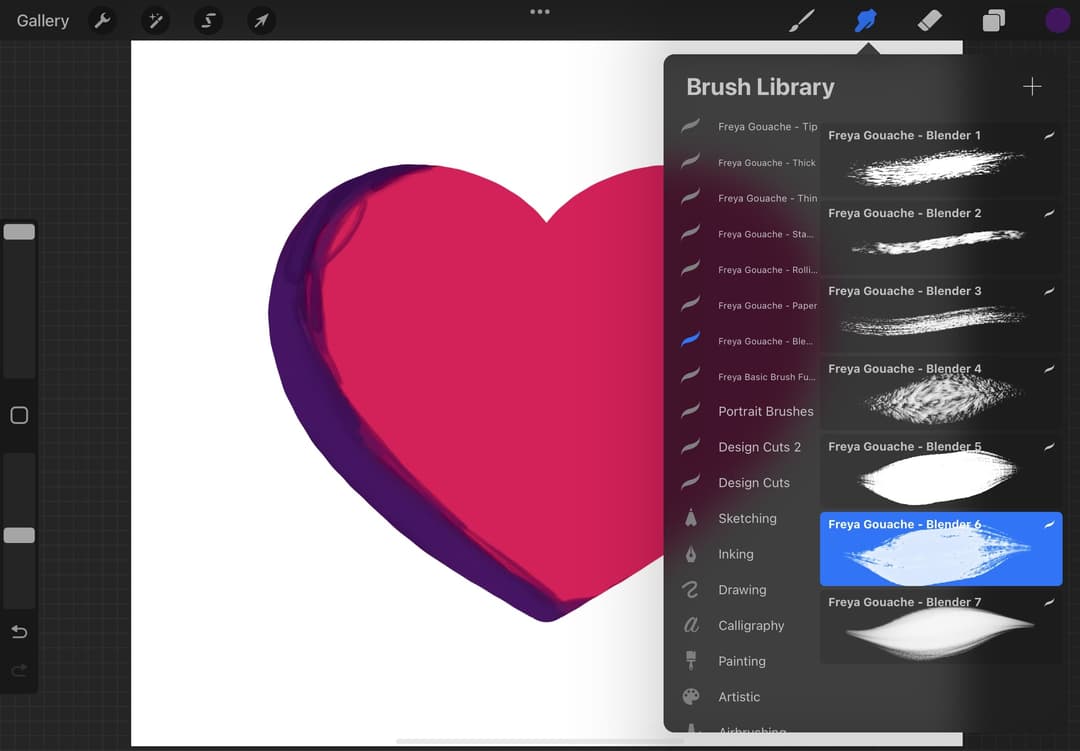
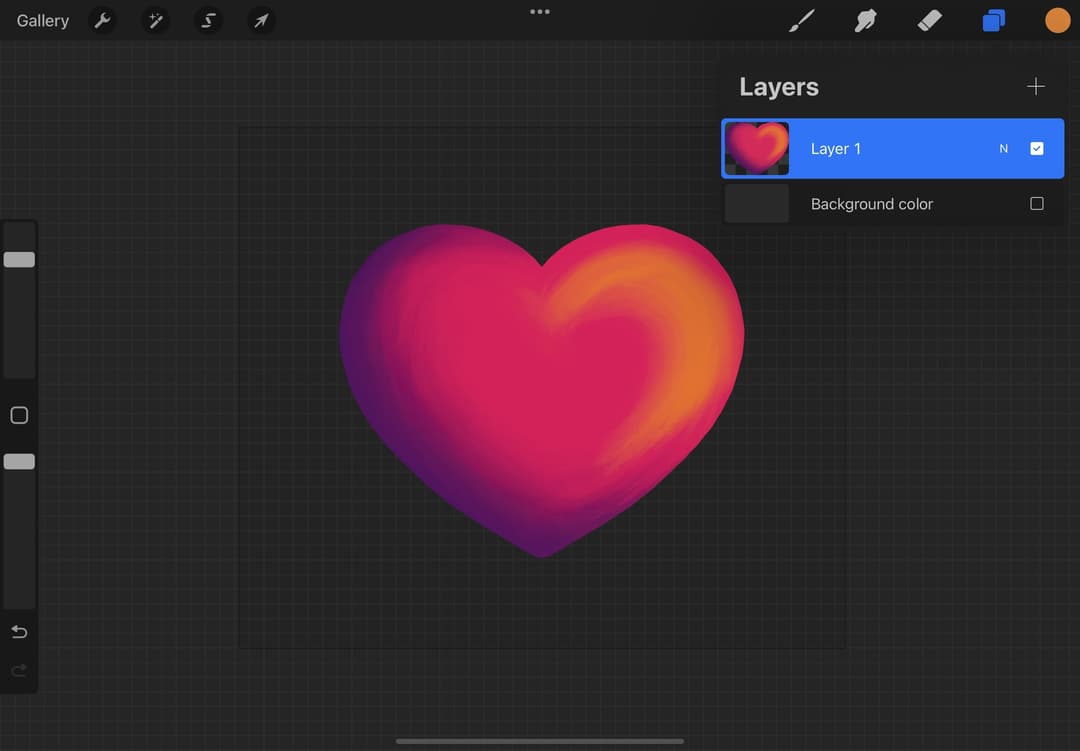
It would then look like this.
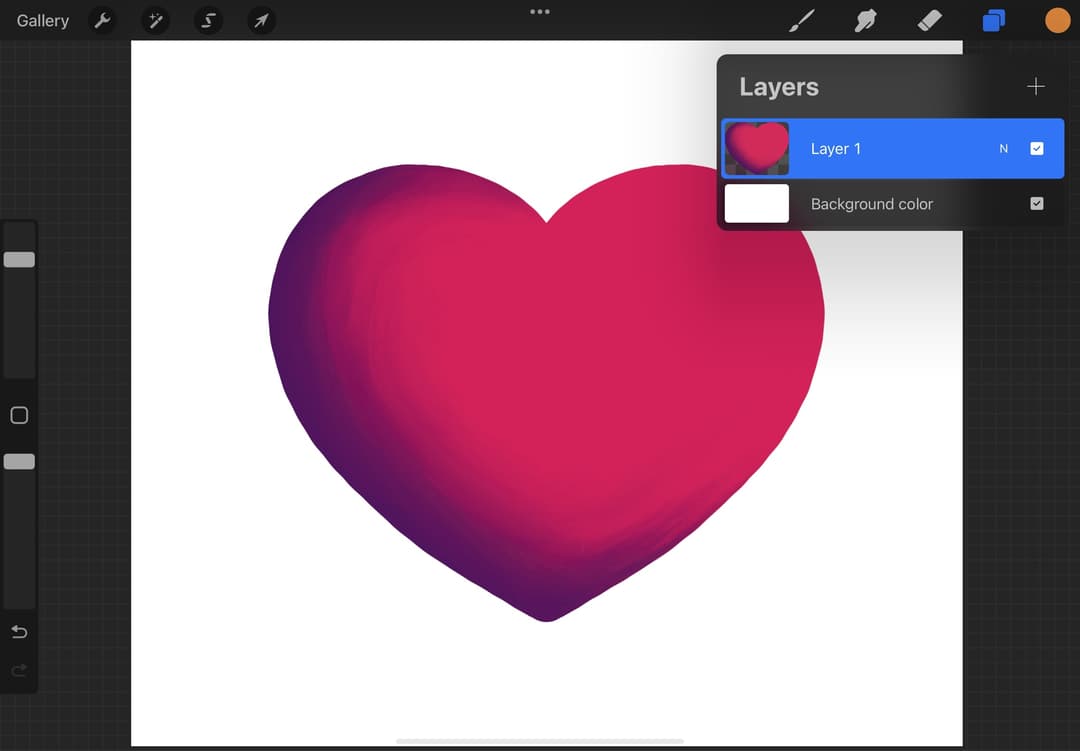
Notice that no matter how much you paint outside the lines, the edges of your shape are still clean. This is how alpha lock works.
Now, let’s add some highlights to the shape to give it more dimension. we’ll choose a bright yellow color and add a little bit on the top corner of my shape.
Then, we’ll use the smudge tool again to blend the colors a little. It would look like this.
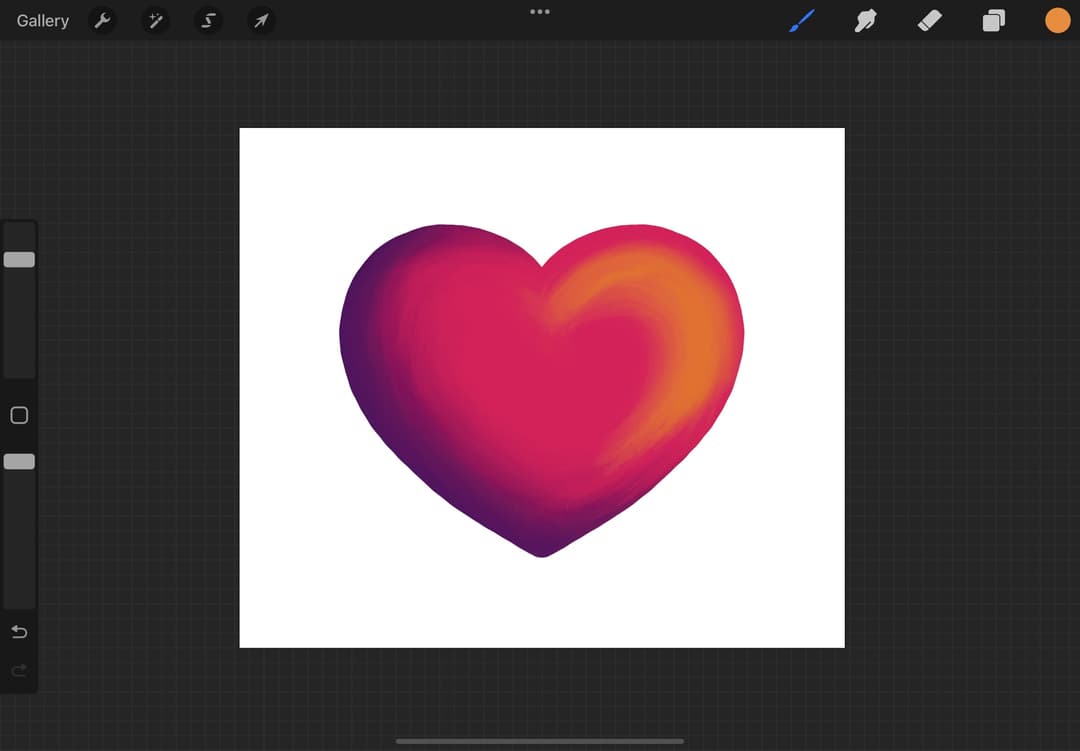
Try turning off the visibility of your background color. You’ll see that the edges of the shape is still nice and clean, thanks to Alpha Lock.
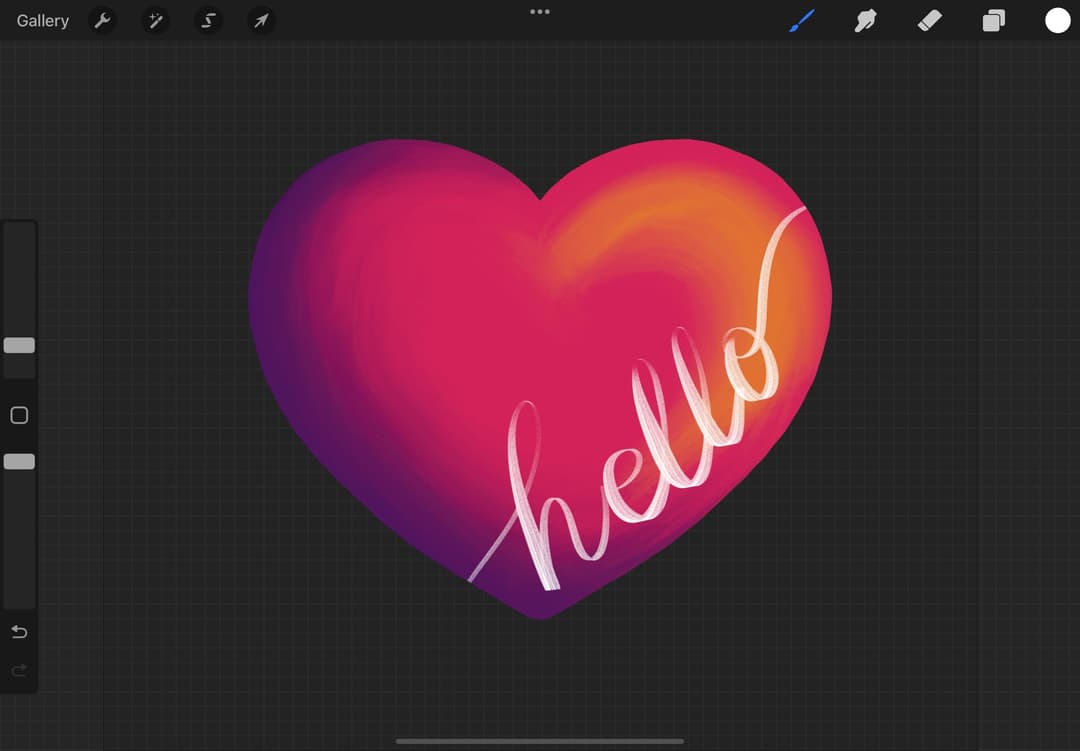
we’ll add a bit of lettering using Twotap Marker Lettering 9. It’s included in Twotap’s new Procreate lettering brushes. Hello from this colorful heart!
Let’s see another difference between alpha lock and clipping mask. In clipping mask, if you want to erase part of the text, you can choose to erase only a part of the text without affecting the other layers.
But when you try the same thing on our work using alpha lock, here’s what happens.
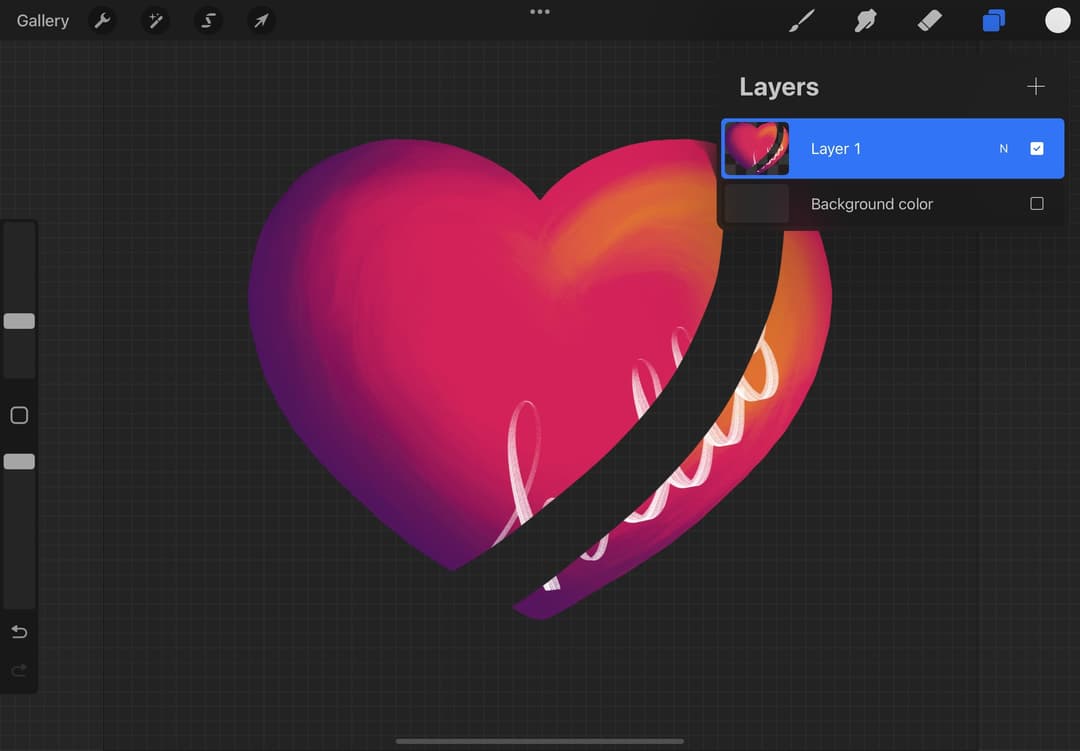
Everything that my eraser run through was erased. This is because all of that painting was painted together in a single layer.
We’re now done with 2 out of 3 masks! We’re you able to understand the difference between alpha lock and clipping mask?
If you’re still having a hard time differentiating them, doing it yourself would help! Try both of them and see how it feels working with them.
Once you’ve experienced the two, you’ll be able to identify where to use them on your work.
We’re almost done with our short blog series on how to use masks in Procreate.
Recolor one flat shape with Alpha Lock today so the gesture sticks. Then keep building skills with Twotap’s courses.
Recolor one shape today, then apply the habit in a Twotap tutorial or course project.


